If being a maker led me to electronics, being a perfectionist led me to PCBs. Learning Autodesk Eagle has allowed me to forego the usual "rats nest of wires on a breadboard" style of electronics and add a more professional flair to my work, as well as opening doors to new projects I couldn't have conceived of previously.
If being a maker led me to electronics, being a perfectionist led me to PCBs. Learning Autodesk Eagle has allowed me to forego the usual "rats nest of wires on a breadboard" style of electronics and add a more professional flair to my work, as well as opening doors to new projects I couldn't have conceived of previously.
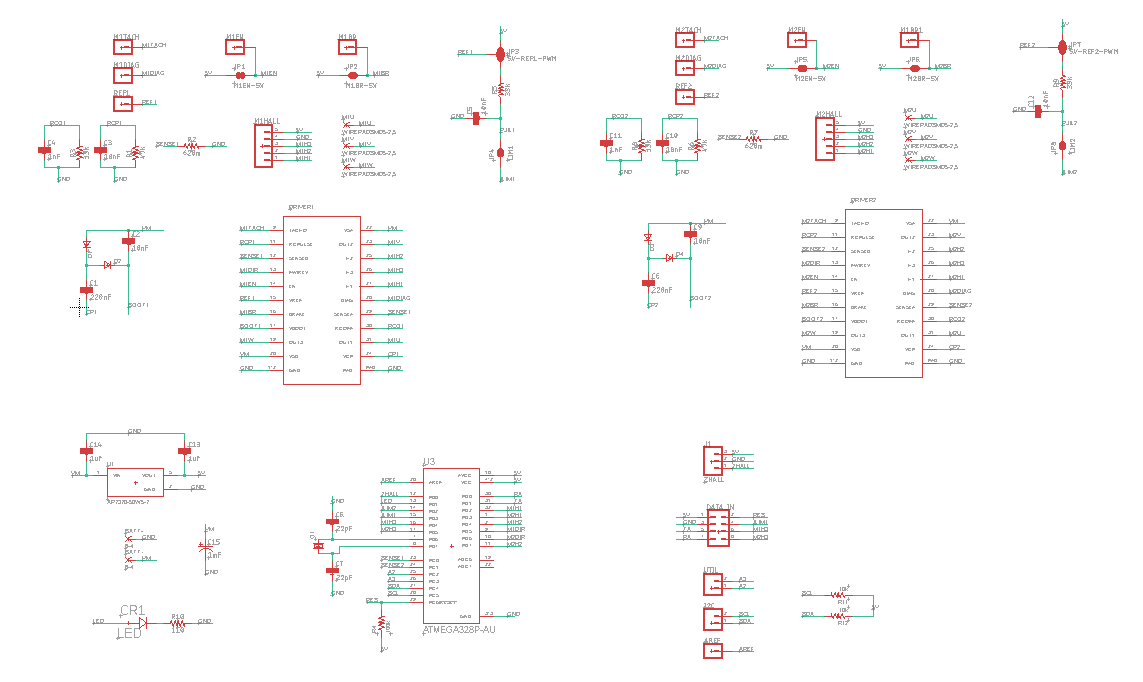
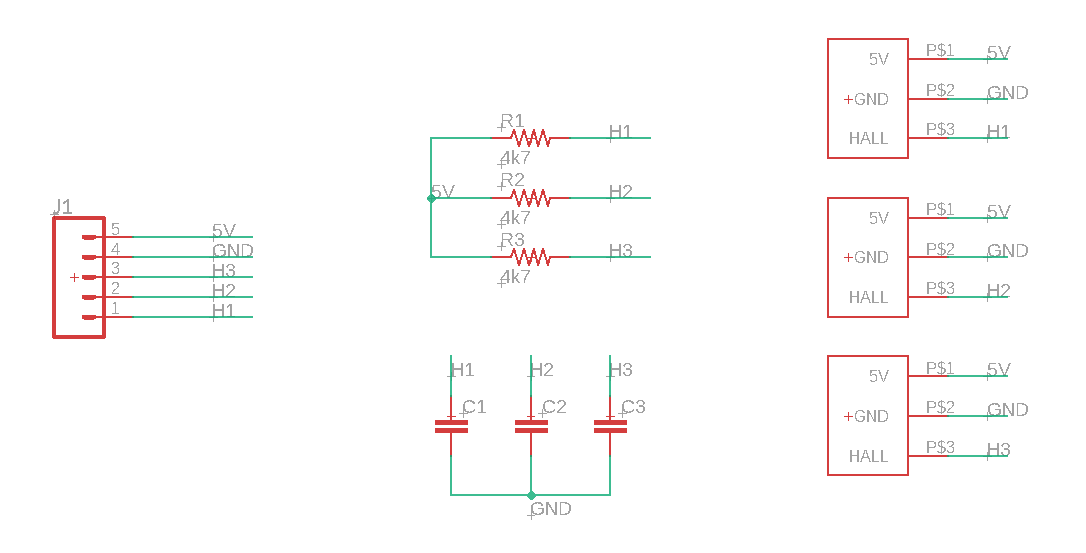
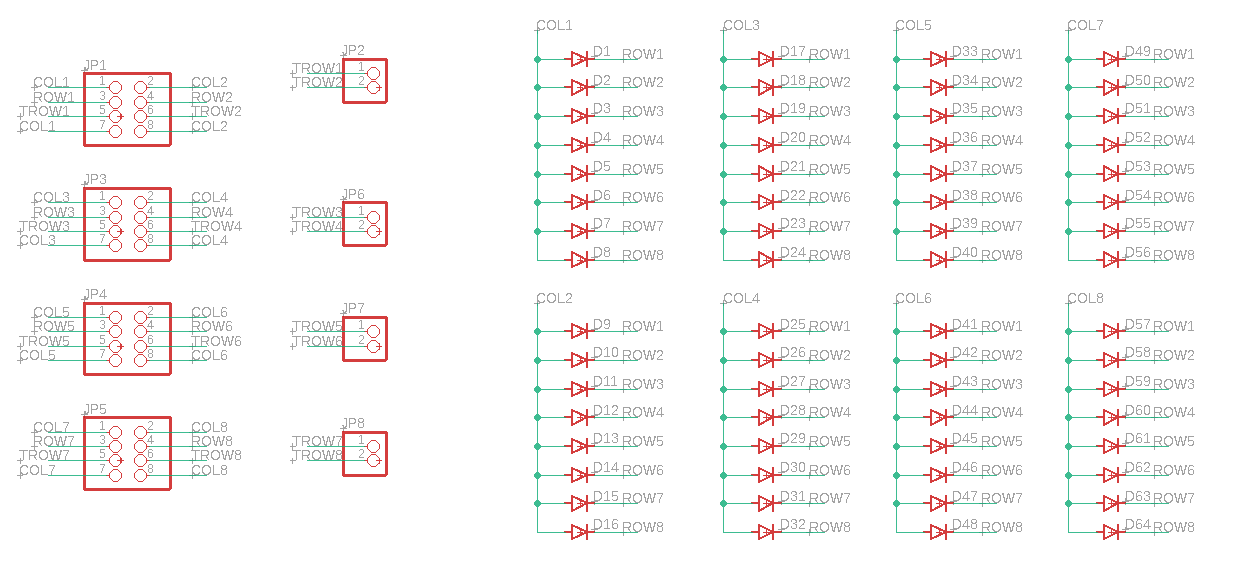
Electrical components are represented symbolically and necessary connections are made between each element.
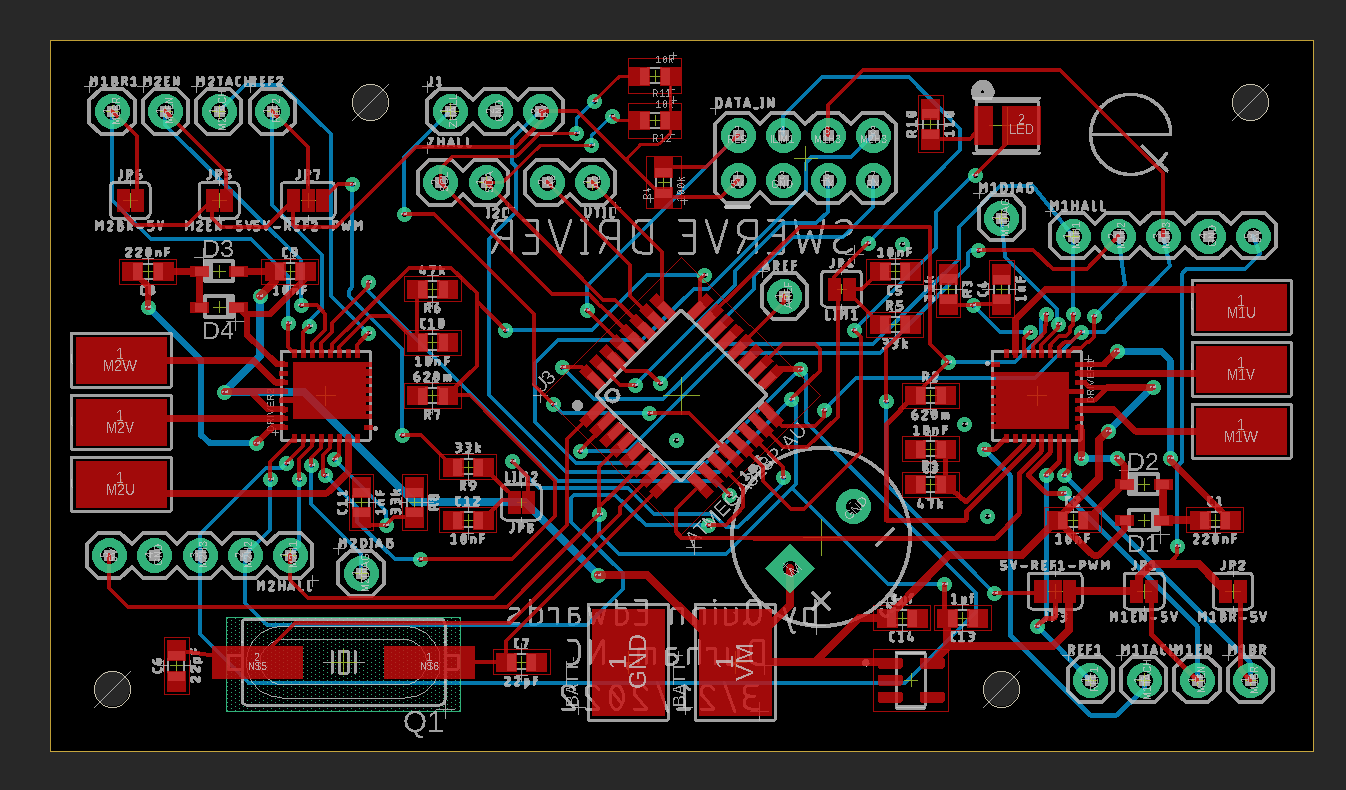
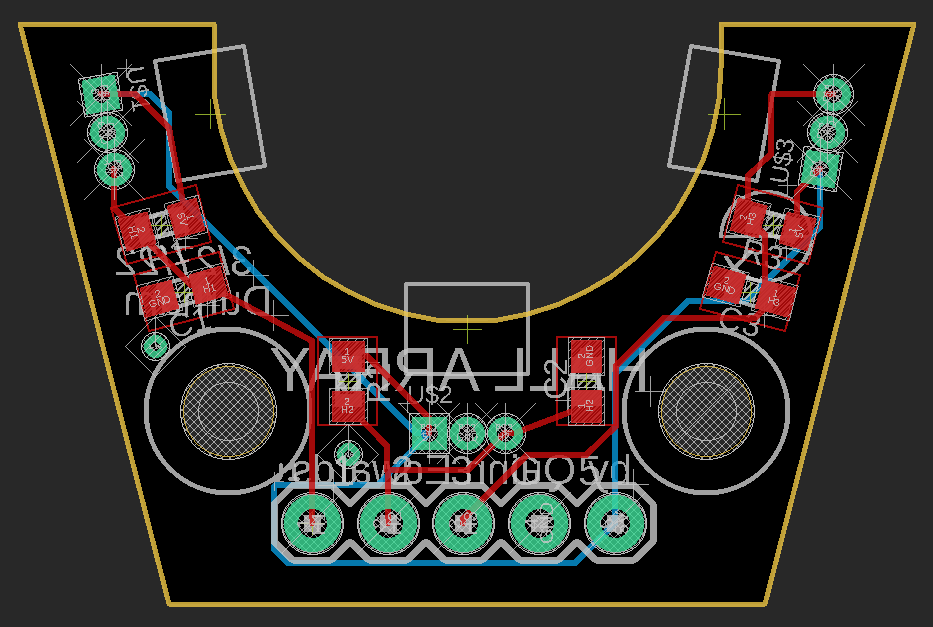
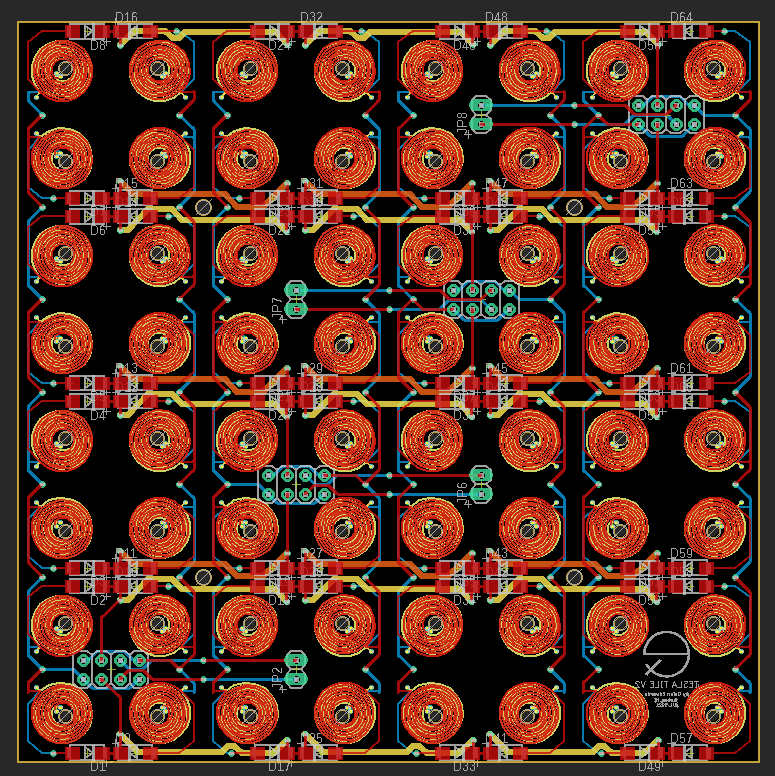
Each symbol from the schematic is replaced with its related footprint (the location of the electrical contacts on the physical part) and copper traces are routed between them to complete the circuit.
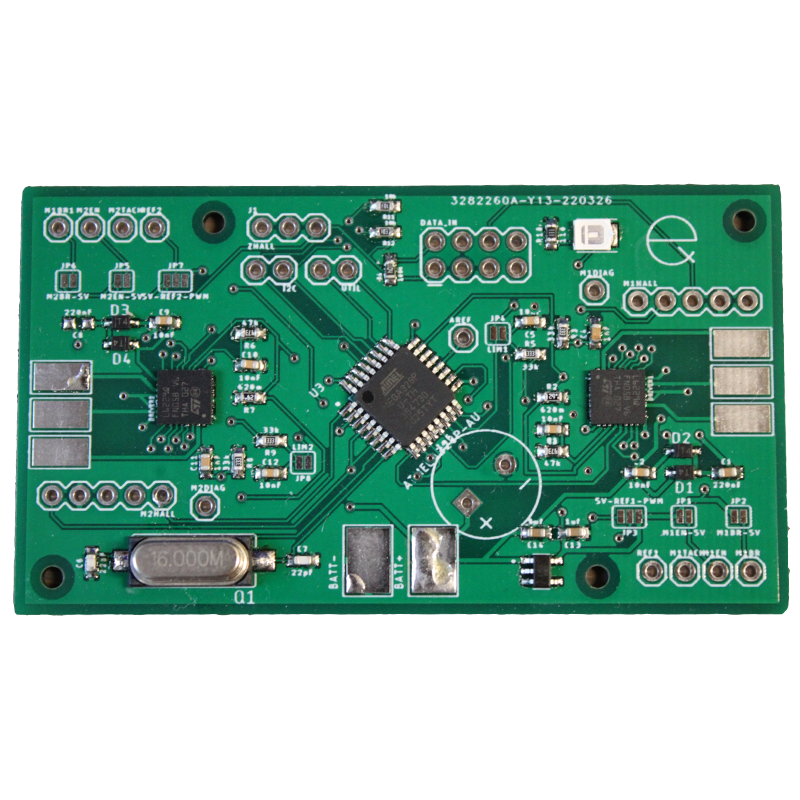
The completed design gets sent to a board shop (I use JLCPCB) to be etched and milled. SMT components are soldered using either a reflow oven (at school) or a frying pan and sand (at home).
Studies have shown that people attempting to form habits most often fail simply because they forget to do whatever it is they are trying to acheive. To help curb this, my first experiment with PCBs was this bedside reading light that won't turn off until you confirm with it that you've completed your daily goals. An ATMega328P microcontroller and Real Time Clock integrated circuit turns a low power DC light bulb on every evening and keeps it on until the user turns a knob and presses a button, after which the reading light operates like normal.
Created for my Micro Differential Swerve Drive project, this board drives two sensored brushless motors with closed loop position control provided by a microcontroller. With communication over I2C, the board can be used modularly with a central controller in a range of complex robotic applications.
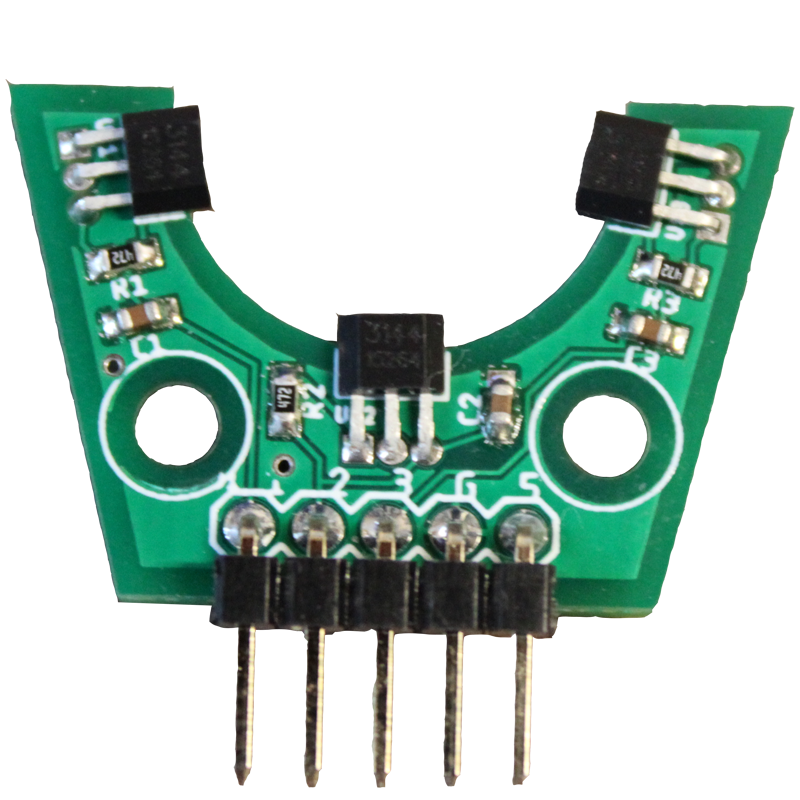
An array of hall effect sensors enables small & cheap commercial drone motors to be driven like more expensive industrial brushless motors by my custom driver above. The hall sensors directly read the position of magnets in the rotor, allowing for precision timing and orders of magnitude better low speed torque.
Using a NodeMCU ESP8266 for wifi connection and processing, this PCB enables closed loop position and speed control of a brushed motor with an encoder in a variety of IOT settings. A power pass through port allows multiple modules to be daisy chained together off of a single power supply, useful applications like a row of window shades.
Curious to see if I could use a microcontroller in a low power setting, I set out to make a sign to guide people to my social group's events. The result is this arrow shaped sign backlit by 18 individually addressable RGB LEDs. The extremely low power ATTiny16 MCU allows the lights to be programmed into custom colors, patterns and animations, and it can run for days on its 3 AAAs.
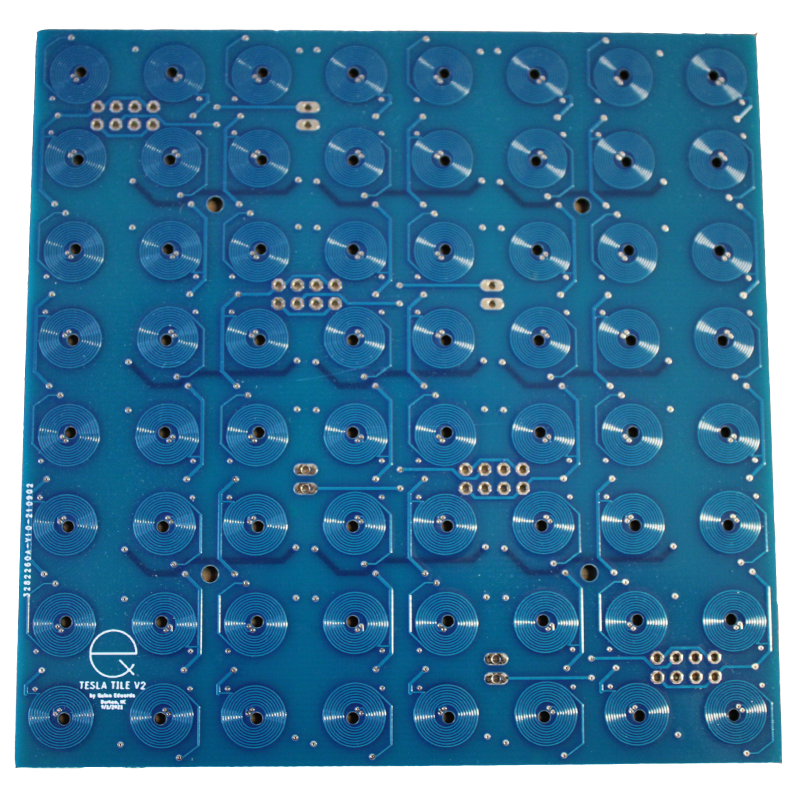
A tile for the [REDACTED] that I'm currently working on, a 4 layer PCB with 256 coil traces.
A prototype board for the project above, the 4 layer Coil Tester allowed me to experiment with the effect of trace width, pitch, and turns of a PCB coil on [REDACTED].
Six of these segments arrange 72 WS2812B LEDs around the circumference of a 11" diameter circle. While I could turn them into a ring light and try to become the next big thing on TikTok, I'm instead going to use them on clocks in an upcoming project.